Your Guide to Digital Banking
Welcome to Digital Banking with Credit Union 1! You can use this guide for an overview and steps to help you during your digital banking experience.
Homepage OverviewExisting Digital Banking Users
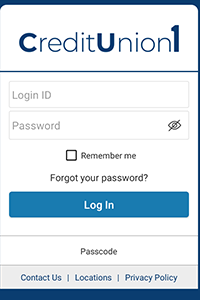
- Click the Login button in the header of the website.
- Use your existing login credentials to login to the new system for the first time.
- Follow the screen prompts to setup your new digital banking experience.
NOTE: The details you provide are verified by comparing them to your contact information in our system. If you get an error, call us at 800.252.6950 to update your profile.
Mobile Devices
For Apple Devices
- Go to the App Store and search "Credit Union 1 Mobile Banking".
- Click the Update button.
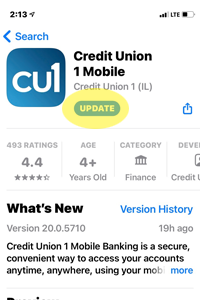
- When you open the app, enter your existing login credentials and follow the screen prompts.


For Android Devices
NOTE: When you search for the Credit Union 1 Mobile Banking App on Google Play, our old app may still appear. When Google published our app, it starts on one server and gets pushed out to all their servers. The server you connect to may not have received the update yet. In that case, you can go directly to the new app by clicking the Get it On Google Play button below.

- Delete the old CU1 Mobile Banking App from your device.
- Install the new CU1 Mobile Banking App on your device.
- When you open the app, enter your existing login credentials and follow the screen prompts.
New User Enrollment
If you are new to digital banking with Credit Union 1, you need to complete the registration process.
- Click the Register button in the header of the website.
- Enter the required information and click the Continue Button
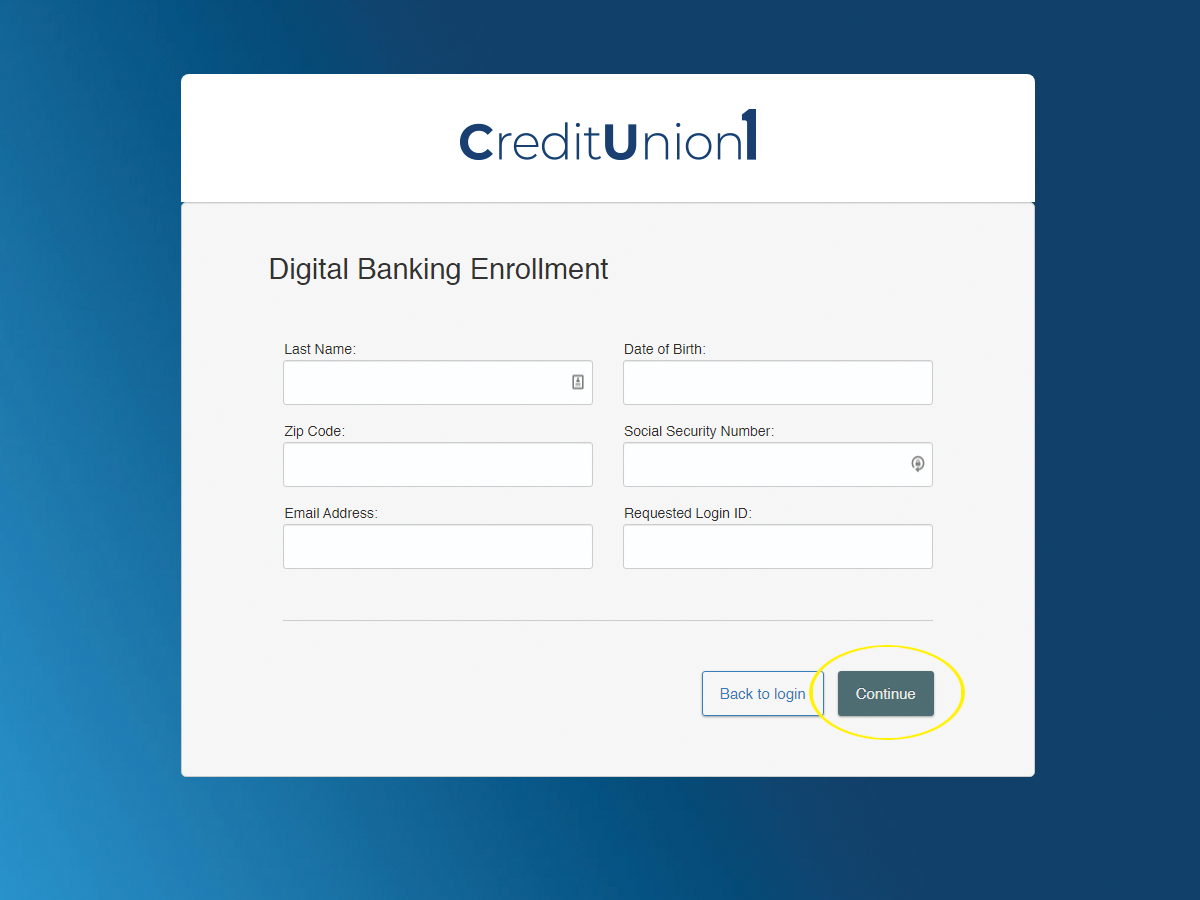
NOTE: The details you provide are verified by comparing them to your contact information in our system. If you get an error, call us at 800.252.6950 to update your profile.
- Follow the screen prompts to complete your enrollment.
A: The navigation bar appears in every view on the left side of the screen for a pc and at the bottom for mobile devices. You can navigate to digital banking features by selecting the appropriate drop-down tab.
B: Your Credit Union 1 accounts and linked external accounts are displayed in an account card with its balance.
C: If you click an account name, you are taken to the Account Details page where you can view transaction history. You can also click the ellipses icon on the right side of an account card and select View Activity for more details.
D: The printer icon allows you to print a summary of current available funds in your accounts.
E: If you click and hold an account card, you can drag and drop it to a new location to change the order in which your accounts appear.
Manage External Transfers
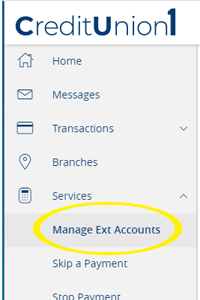
To link your accounts at other financial institutions to your CU1 digital banking profile:
- Click on the Services tab from the menu and choose "Manage Ext Transfers".
- Enter the Routing Number and Account Number for the external account you would like to link. Then choose the Account type: Checking or Savings, and click the Submit button.
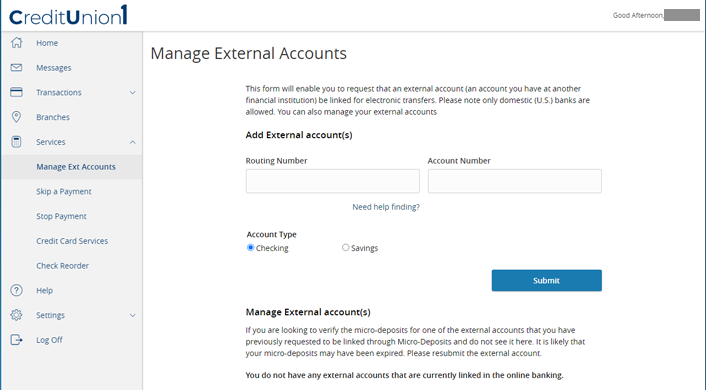
- You will be asked to verify your ownership of that account by confirming two small deposits Credit Union 1 makes into the external account. Once they are confirmed, you can begin transferring money to/from the external account.
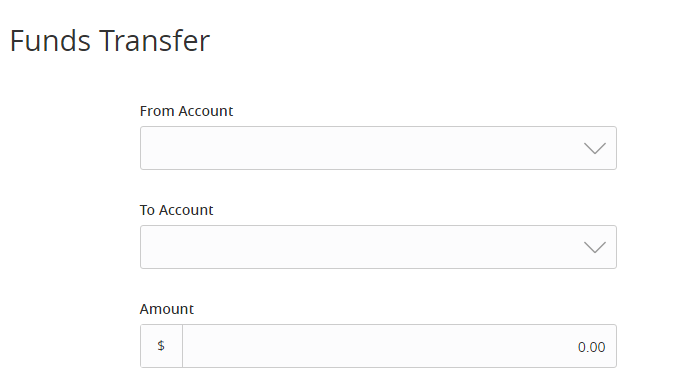
- When you go to the Transactions tab in the menu and choose Funds Transfer, the external account(s) will appear in the account dropdown lists with your CU1 accounts.
Sending a Secure Message
Use Secure Messages in digital banking to contact Credit Union 1 about your account in a convenient way.
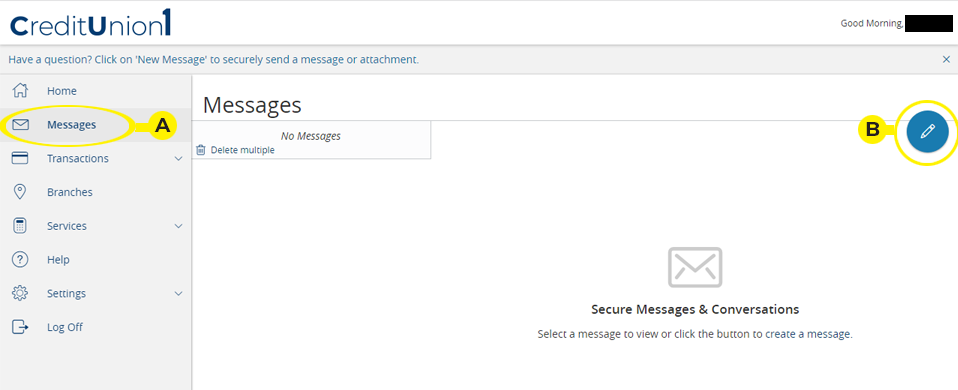
A: In the menu on click/tap Messages.
B: Then click/tap the pencil icon to begin composing your message.
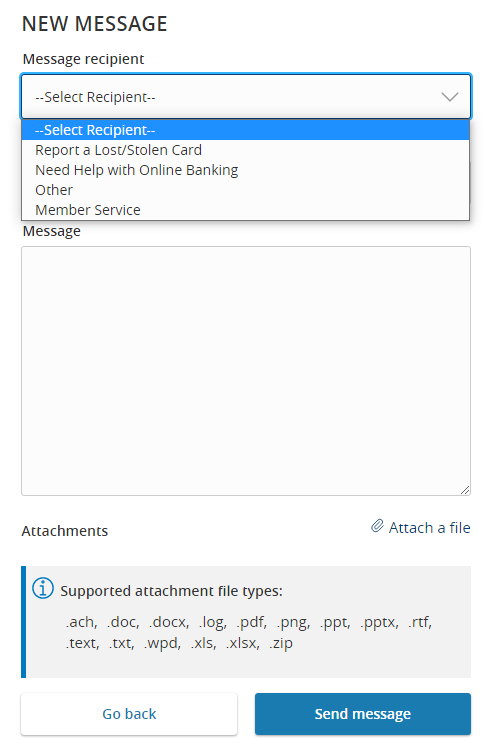
Select a recipient, enter your message, attach any relevant files, and click/tap Send message.
Have a question about a specific transaction in your history?
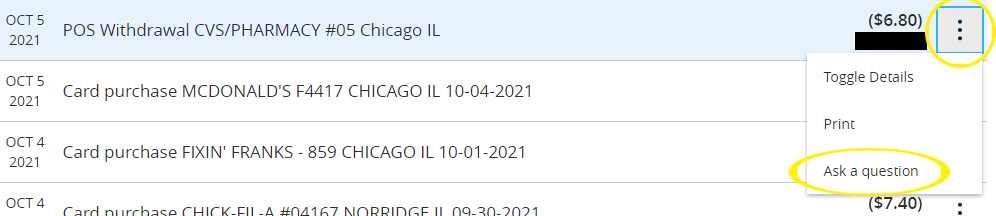
Click/tap on the ellipses and choose Ask a question.
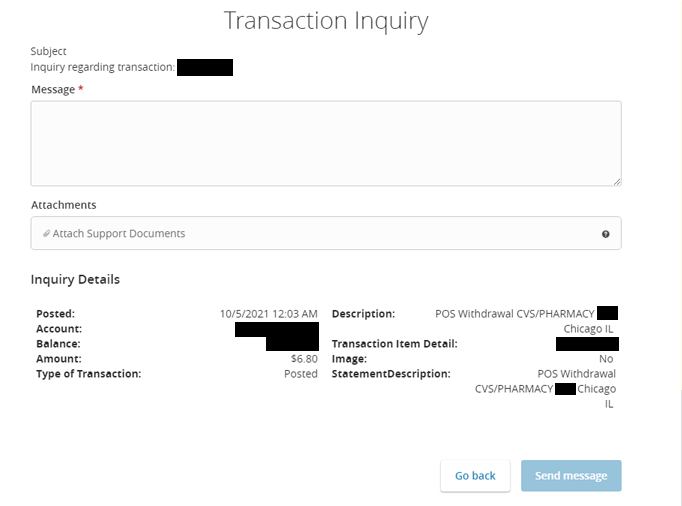
Enter your message and click the Send message button.
Account Grouping
You can organize your internal and linked accounts into groups, so the home page appears in a way that makes sense to you. These groups can always be changed or deleted.
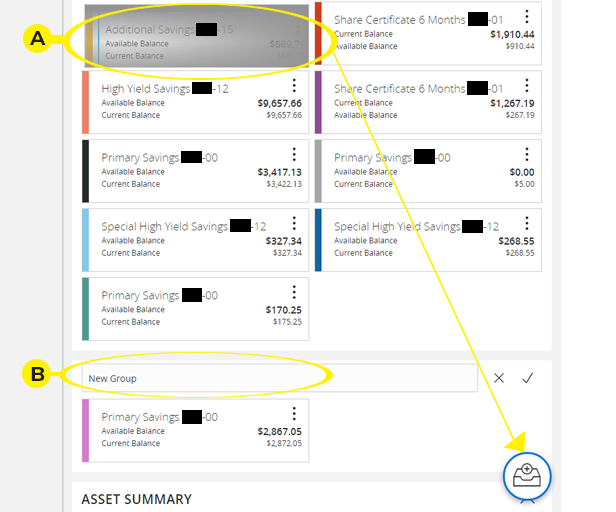
A: Create a new group by clicking and holding an account card, then dragging and dropping it to the pop-up icon.
B: Create a group nickname and click the check mark when you are finished.
Then, you can hold an account card and drag it into the group to organize your accounts how you like to see them.
Nickname Account
Nickname Account will allow you to change the name that displays for this particular account.
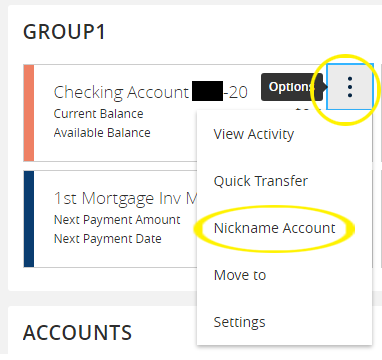
Click/tap the ellipses on an account card and select Nickname Account.
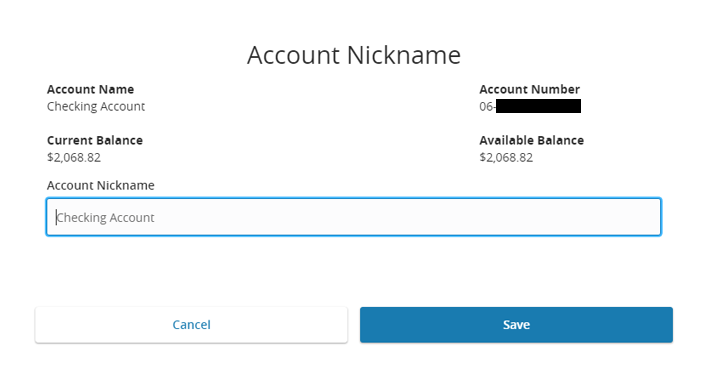
Enter the desired nickname and click the Save button.